This oat flour pie crust is a perfectly flakey, easy-to-make, whole grain gluten-free crust option for any pie!

Hi friends! I'm SOOOOOO excited to share this recipe with you today. As many of you know, Hungry Hobby is LOADED with all kinds of things you can make using oat flour, including bread, desserts, muffins, scones, and more! One of the most requested recipes I have had on my content calendar to try for around three years is an oat flour pie crust. So, what took me so long?
Well, first of all, intimidation. People are so picky about their pie crusts. I didn't want to disappoint anyone. The second was the vast amount of oat flour pie crust recipes on the internet. Did the internet need another one? To find out, I started by testing a few of the top-ranking recipes on google, and to say I was disappointed was an understatement. My biggest complaint was there was not enough dough to cover a deep 9-inch pie pan or even a shallow one. They were too salty and cracked all over the place when I made them. It was really disappointing.
So I knew it was time I tackled it. It took me a few weeks, many failed crusts, and a lot of testing, but I finally came up with something I'm excited to share with you today!
Why did it take so long? Well, for starters, I actually tested this pie crust with filling. First, I pre-baked the crust and added no-bake pie filling. To see how it would hold up in the fridge and how it would hold up with a moist filling in it. I was so happy when it did fantastically and got rave reviews from Mr. Hungry and my MIL.
BIG thanks to my MIL, who went to the store and showed me where to get instant pudding pie filling, haha. I did one layer of chocolate pudding pie with a layer of truwhip (healthier cool whip) and another layer of pudding. Topped with ground-up chocolate tigers from TJ's and melted chocolate.
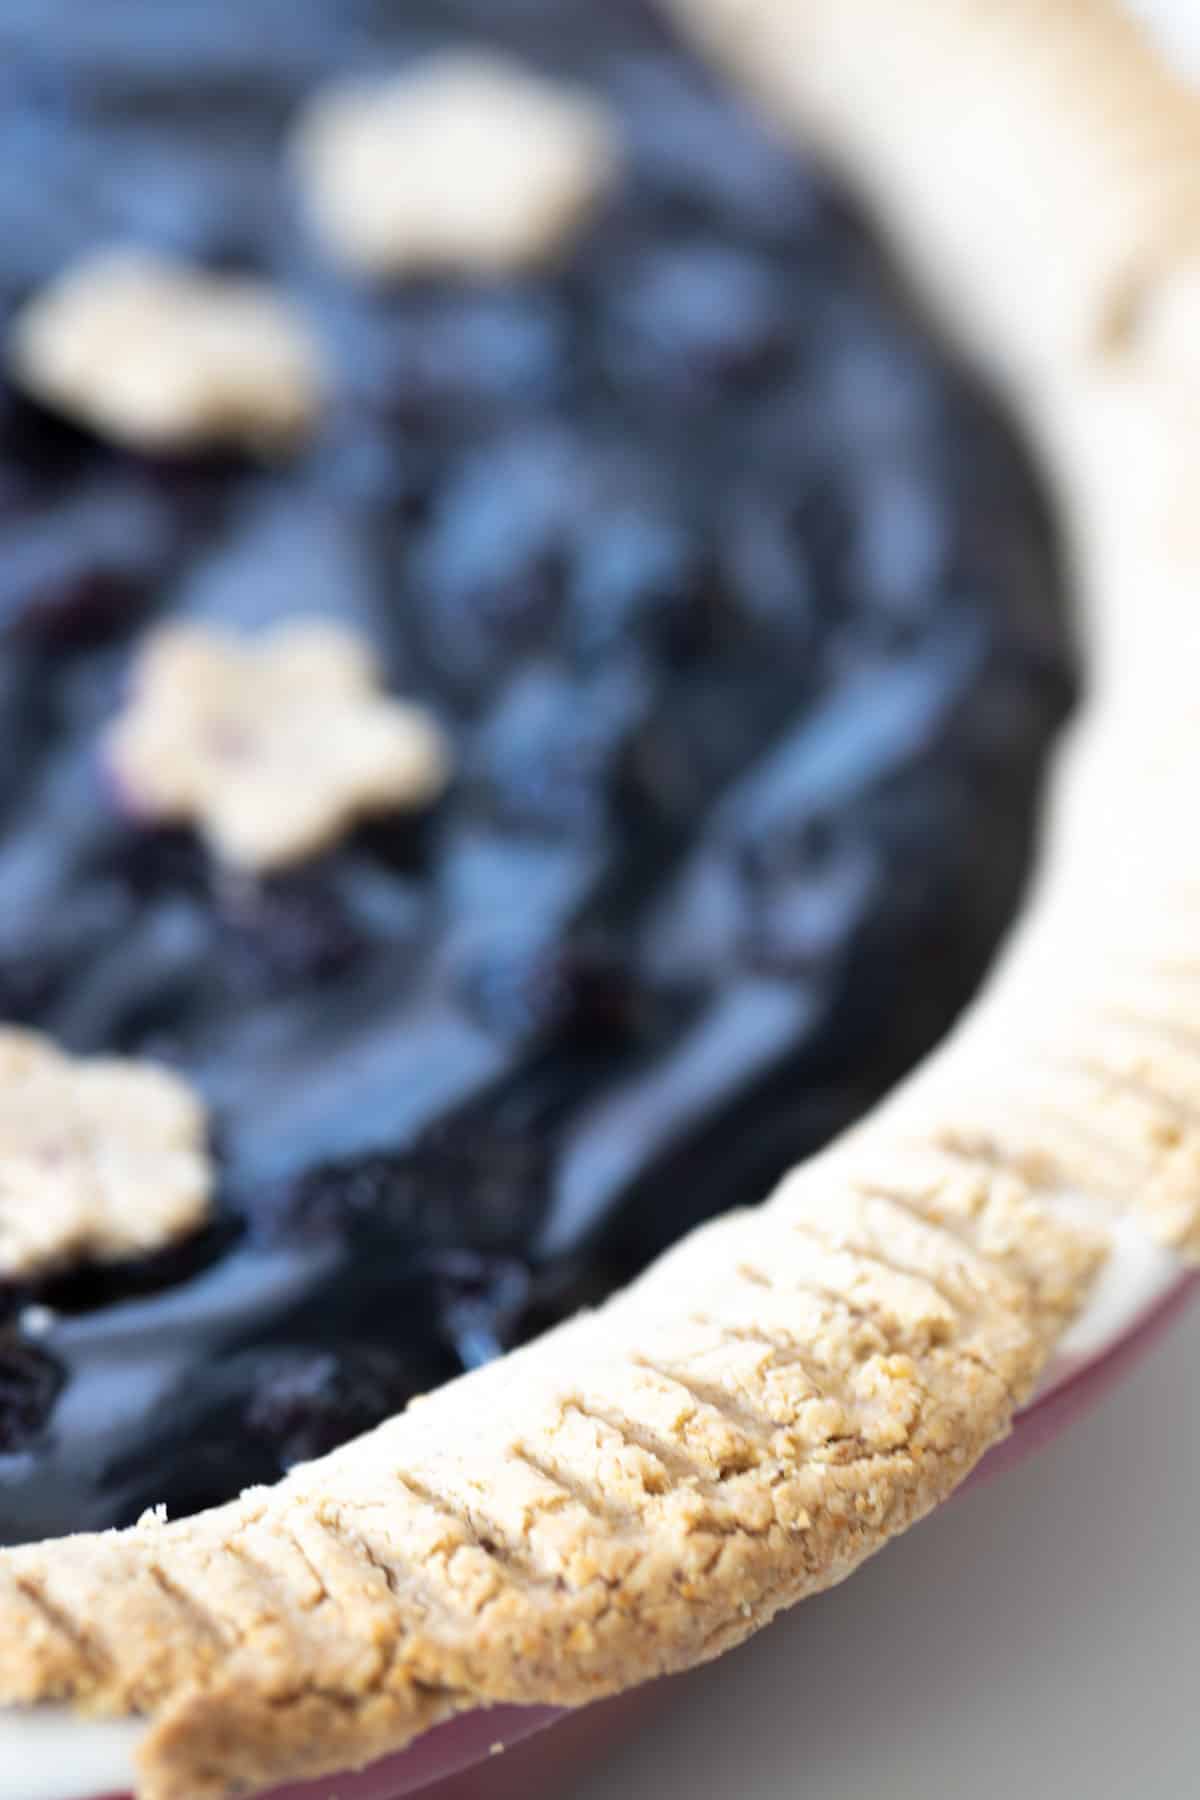
See how beautifully the crust held up, even after sitting in the fridge! I was so happy! Next up, I baked a pie using pre-made blueberry pie filling (thanks again to my MIL for directing me to the grocery store again!). I baked the pie at 400F for 40 minutes with foil over the edges. It came out beautifully! I should have rotated my pie, but that's on me, not on this crust. So that's why it burned a little on the edge that was toward the back of the oven. Also, I even had enough dough to create a cute little topping!
You can see there is a bit of cracking, but with the filling, you can slice into it beautifully and be confident to have a nice slice of pie! And if you are proactive and rotate your pie, you should have most of the crust look like in the below photo.
So, lot's of potential for this crust! Honestly, I didn't take a picture of slicing into the pie because the canned jelly filling was a bit off-putting, it tasted good, but the texture looked weird to me, very gelatin-like. (Nothing like the blueberry pie my Aunt made from scratch a few weekends ago!) But the crust did hold beautifully when carefully sliced into it!
The only thing I didn't try was using a pre-bake crust, be careful with those that you do not overbake. Make sure to cover your crust edges with foil. The other thing I didn't try was using an egg or butter wash on the edges of the crust. My MIL mentioned she never does that with a regular pie crust, so I skipped it. Let me know if you try it! Oh, and I did butter the pie dish, just in case.
I hope you guys love this crust as much as we do! So, let's talk about how to make it!
How to Make Oat Flour Pie Crust
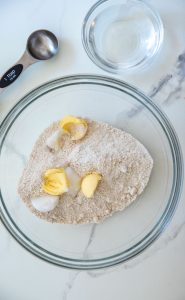
Start by mixing your oat flour (see how to make oat flour here) with COLD butter, coconut oil, and water.
I started by mixing in ½ cup cold water and then adding 1 tablespoon at a time. The trickiest part of this recipe is knowing when to stop adding water. Several times I rolled it out, found the dough was cracking, and went back in to add more water. Oat flour is tricky because the longer it sits, the more water it absorbs, so if you are unsure, I would let it sit for 2-5 minutes, then go back to it.
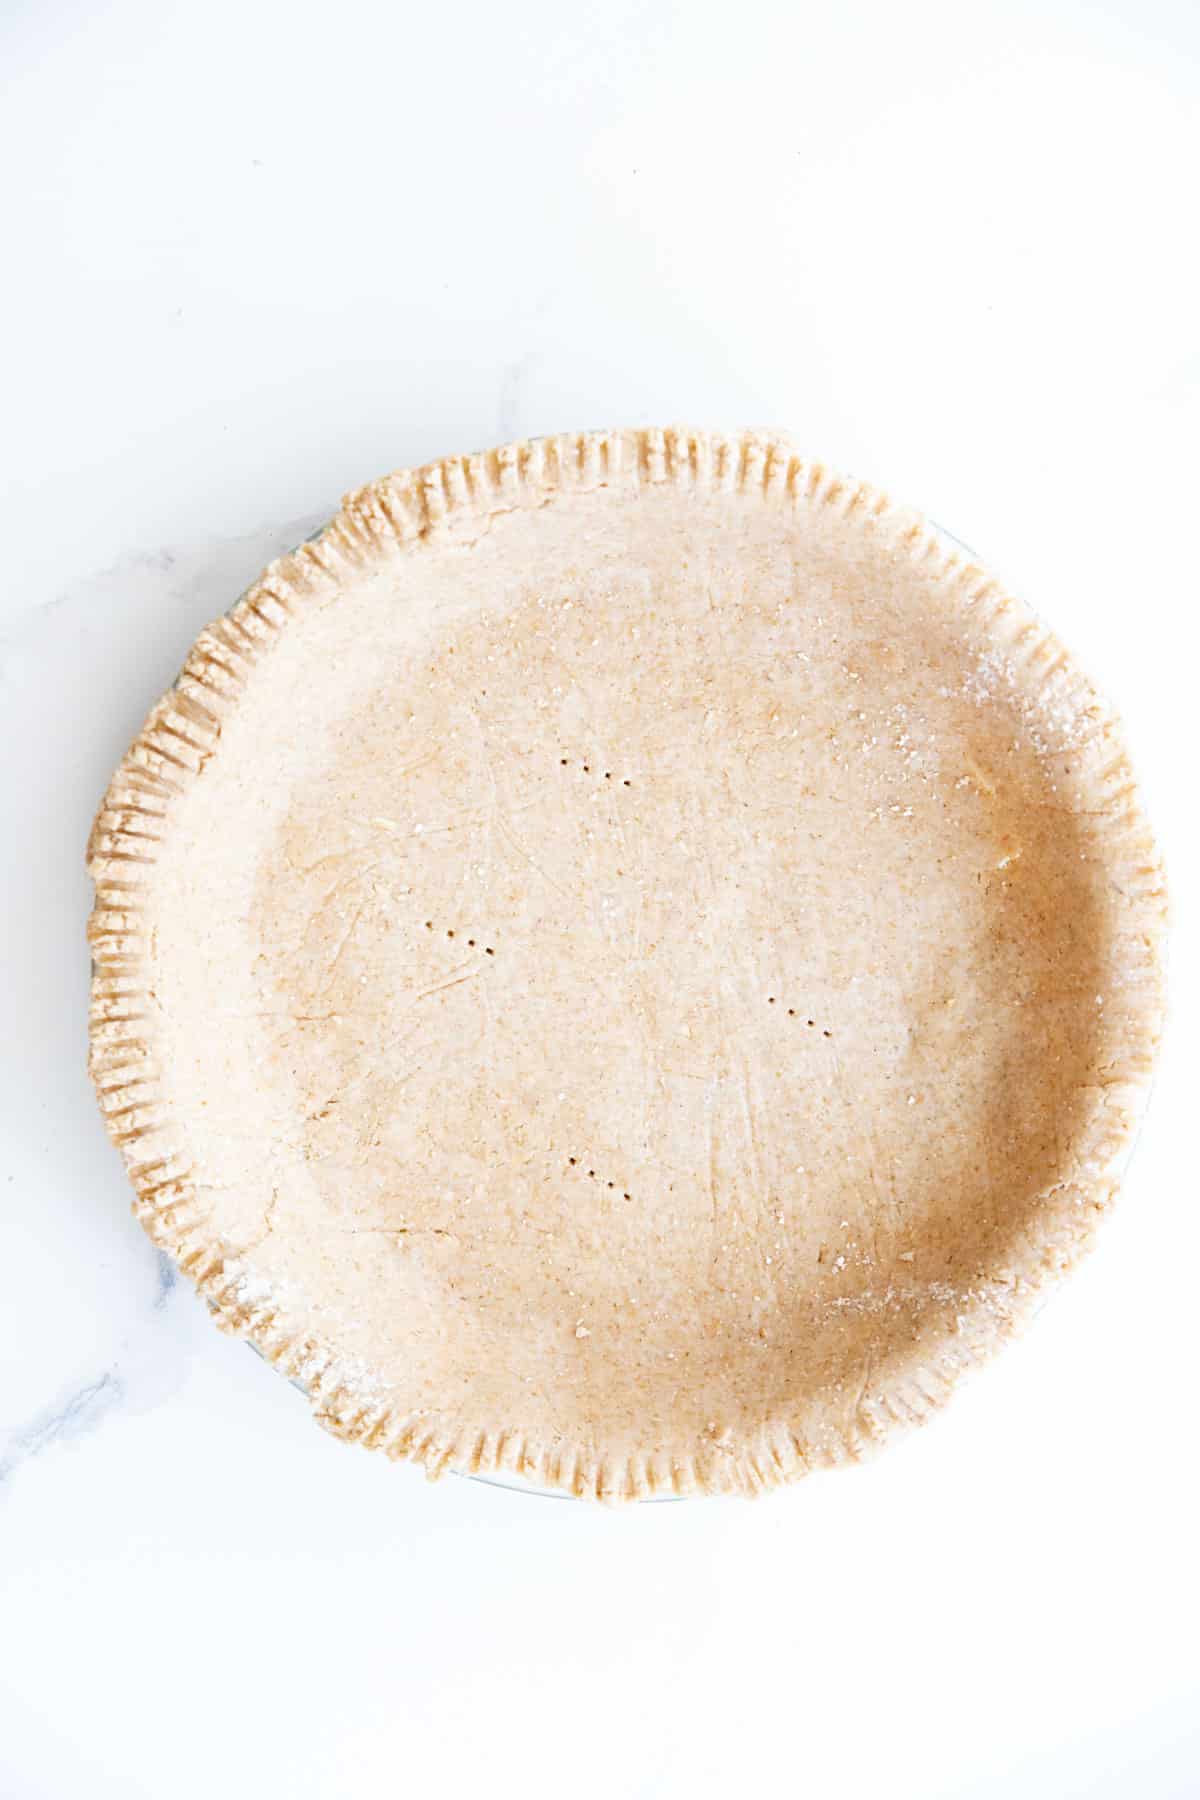
You'll want to mix with your hands to break up the butter and coconut oil pieces. When it can be rolled out about ⅛ inch thick without cracking, it's ready. But you want to avoid adding too much water and making it too sticky. Also, this is a LOT of dough. As mentioned above, it's enough to fill my deepest 9-inch pie dish with some leftovers for decoration. So you will have a lot leftover for shallow pie dishes. Better to have too much than not enough. I like to place the pie dish on top of the dough and flip it over.
I rolled mine between two pieces of floured wax paper and had no issues with it sticking. I removed the top, placed a buttered pie dish, and flipped it over.
Then press the pie crust, so it's even in the dish, and use a fork to place holes in the bottom to prevent buckling, and create a pretty decorative crust around the pie rim. For pre-baked or no-bake pies, you will bake for 15-20 minutes at 350F. As you can see, I had slight cracking, but nothing too insane. It worked beautifully with the filling.
Swaps and Substitutions
Ingredients in this recipe are:
- Oat flour
- Salt
- Cold coconut oil
- Cold butter
- Cold water
I do not recommend swapping oat flour for any other flour. This recipe is specifically designed with oat flour in mind and won't easily be changed to another flour. I also do not recommend changing the salt levels.
However, you could swap out the oils. You could use all coconut oil or all butter or swap vegan butter for butter. I love the mix of coconut oil and butter for a rich flavor that isn't overpowering. But you can swap these around if necessary. If you're making this in the summer and live somewhere like me where your coconut oil is liquid at room temperature, you will need to refrigerate it before beginning. Both the oil and the butter need to be super cold!
The water should be cold too.
How to Store and Freeze:
To store:
Un-Baked: I don't recommend making this and then waiting to bake something in it. AKA making it ahead. Which I know is annoying because half the convenience of store-bought packages is that they are already made when you are ready to add the filling. The problem is that oat flour is SO absorbant and gelatinizes under refrigeration. So making the unbaked version ahead won't store well.
Baked: If you plan to pre-bake your pie crust, that will store it better. I didn't add my pudding pie filling until a day after storing it on the counter, and that was fine! It should hold on the counter for at least a day or two. Any longer than that, it will need to be refrigerated. And honestly, I'm not 100% sure how long it will last, probably a few days max, as the oats will likely continue to absorb moisture in the refrigerator even though they've baked.
With Filling: Once you have finished the product, you will likely need to refrigerate it because of the filling.
To freeze: I have not tried this. I don't think it will work well for an unbaked or baked crust, but if you try it, let us know! I think you might be able to freeze a whole pie with filling if you used an ice cream filling. I think it wouldn't be as crunchy.
More Recipes You Might Love:
- Oat Flour Brownies
- Oat Flour Chocolate Chip Cookies
- Oat Flour Carrot Cake
- Oat Flour Scones
- 27+ Oat Flour Dessert Recipes
Oat Flour Pie Crust
Equipment
- 1 Pie Dish
- 2 Pieces of Wax Paper or Parchment Paper
- 1 Fork for decorating and airating
Ingredients
Instructions
- Using your hands, mix oat flour, salt, butter, coconut oil, and ½ cup water until a dough forms.2 cups oat flour, ¼ teaspoon sea salt, 2 tablespoon cold butter, 2 tablespoon cold coconut oil, ¾ cup cold water
- Add 1 tablespoon of water until the dough sticks together well without becoming sticky and can be rolled out without cracking.¾ cup cold water
- Roll out dough between two pieces of floured wax paper ⅛ inch thick.
- Remove the top piece of wax paper and place a buttered pie dish over the top. Flip the dough over into the pie dish right side up.
- Press dough into the pan, repairing cracks and ensuring everything looks even. Using a fork, poke holes in the bottom of the pie crust to prevent buckling. Using your fork again, use it around the edges to make a decorative rim.
- If pre-baking pie crust, bake for 15-20 minutes at 350F.
Video
Nutrition


Sonia says
I’m so glad I found this recipe! I love using oat flour, the taste is so much better in a lot of recipes💯. Looking forward to checking out all your other recipes and to trying this one out!
Kelli Shallal MPH RD says
Yes! thank you so much! I was not impressed with the other recipes so I worked really hard on this, so glad to hear someone else loved it as much as we did!
nerissa says
Hey Kelli! Thanks for creating this oat flour pie crust recipe! Can't wait to try it!
Have you ever done a Coconut cream pie with oat or almond flour?? Thanks!
Kelli Shallal MPH RD says
I haven't tried it, but it sounds delicious!
Nerissa says
I made this crust and used it for a Quiche recipe. It turned out perfectly! (The only change I made was to use all butter instead of butter/coconut oil). I did pre-cook the crust for 15 min before adding the quiche ingredients & then cooked for 45-50 minutes on 350 and the edges never burned or cracked. I also wanted to let you know I cut the quiche into slices and froze them individually. I then reheated in the oven and the crust tasted exactly as it did when it came out of the oven!! Wonderful recipe, thank you so much!
Kelli Shallal MPH RD says
This is AMAZING! Thank you for sharing!
Miss Abigail Penny says
So glad you mentioned making a quiche with this pastry, I want to make this but wasn't sure if it would hold the liquid. Do you have any tips ? Did you make a thicker crust then the pie picture above^ ? Also did you have a crust around the edge or just on the bottom?
Thank you in advance
And thank you Kelli for doing the trial and error for us all , can't wait to make this 🙂
Kelli Shallal MPH RD says
You're welcome this was a fun recipe! My family liked it better than your standard gluten free pie shell.
Sheryl says
Love it! Thank you for sharing your recipe!
Anne says
This crust did not work for me unfortunately. Would not recommend it
Kelli Shallal MPH RD says
I'm sorry it didn't work for you! I've made it a bunch and tested it a lot, but I know altitude can play a role sometimes. As can just ingredients and how cold your dough stayed.
Trish says
Really great recipe, used it for GF chicken pot pie worked perfectly and I was able to stretch this recipe to make both a top and a bottom. Thank you!!
Kelli Shallal MPH RD says
So glad to hear that!
Shannon says
First, I can't make a decent traditional pie crust. That said, this turned out perfect! I made a tomato tart and while the coconut oil gave it an interesting flavor, the texture and taste was delicious. And no stomach pain! Thank you for sharing.