Hi there, I know this post isn't very Valentine's Day themed, but I had it scheduled for yesterday and wasn't quite able to get it published so you are getting it today! I hope you have a wonderful day filled with love! Today's post is geared towards other RD's or nutrition practitioners. It's also geared toward anyone thinking about starting a blog, we will be back to our regularly scheduled program on Friday!
Over the last few months, it seems like I've gotten a ton of questions about "how to start a blog." Most commonly these questions come from other RDs or Dietetic students who are curious to know how I got where I am now. So I thought it would be good to put my answer in writing so I can direct people here when they ask.
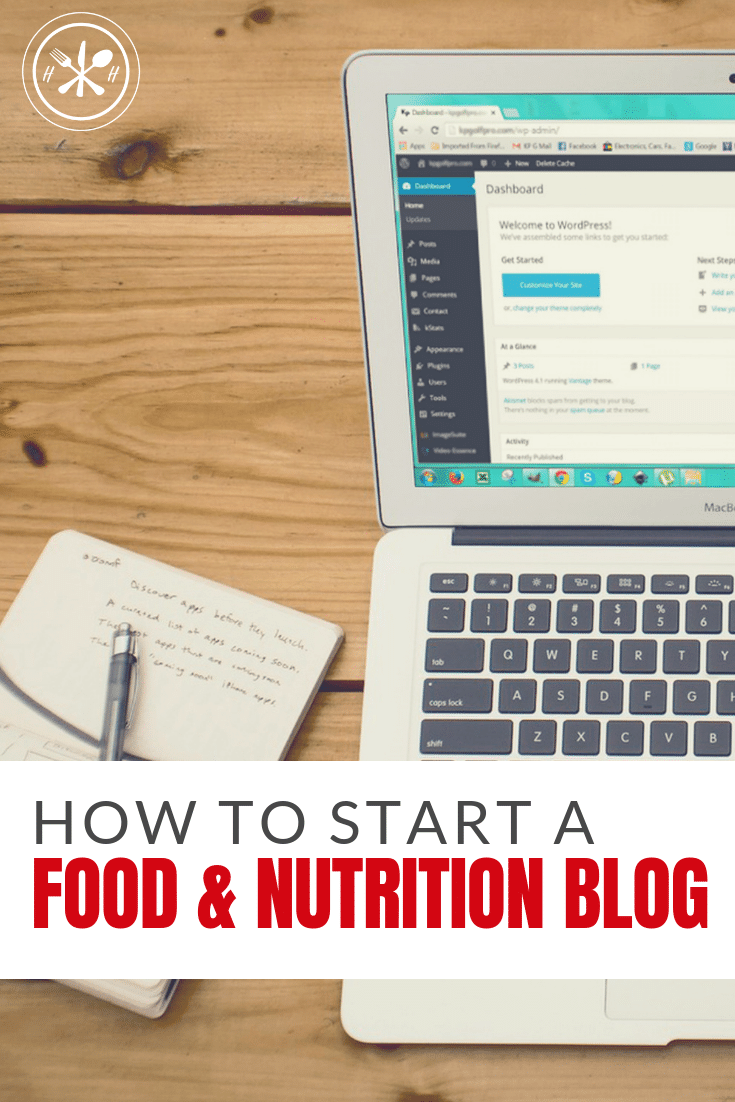
The truth is "how I got to where I am now" a private practice dietitian, food blogger, speaker, personal trainer, and a professor was not a straight road at all. I started this blog as a hobby in 2014 as I was finishing my dietetic internship. At the time I thought I would work in corporate wellness (which is what I spent the majority of my internship hours doing at University of California Riverside), but those jobs are hard to find, especially in AZ, so I took a job at WIC while I kept looking.
After a year of searching, I still hadn't landed anything in corporate wellness, so I kept blogging and interviewed for a job at Life Time Fitness. I loved working at Life Time and gained incredibly valuable skills in speaking, holistic nutrition, personal training, and sales but the hours I was working were not sustainable long term. So I left Life Time when I started teaching at a local community college and began focusing on the building the blog and my private practice.
Step One Start Now
If there is one thing I could do differently, it would be to have started the blog sooner. Blogging has a learning curve and takes a lot of time to find your groove. There is no magical formula to be successful at blogging, each blogs path to "success" will look a little different. Your blog will grow and change over the year. Hungry Hobby has grown a lot over the years, but I wish I had started it when I was in grad school instead of dreaming of the day I would start it AFTER grad school. If you are thinking about starting a blog, do it now. Even if you only put up one post a week, it will take time to gain credibility with search engines and generate traffic so start building content NOW.
Choosing A Platform
If you are ready to start a blog, you must first ask yourself what your purpose of the blog is and what kind of content you will be producing. The answers to these questions will help you determine how to start.
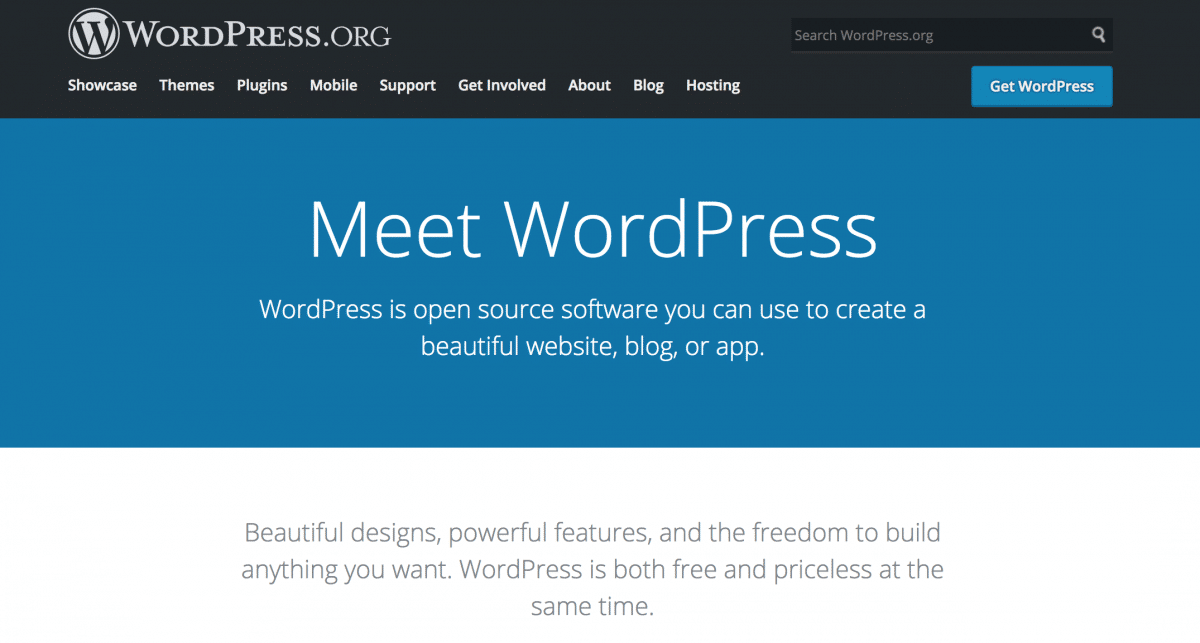
There are many platforms to launch your blog on including WordPress, blogger, and others. WordPress is my recommendation because it has the most functionality and control. Plus you can start on the free version and transfer to the paid without much of an issue. Hint: Make sure you sign up with a new blog related email account, TRUST ME on this!
WordPress.com
This is a free blogging platform that you can use if you aren't sure if you will like blogging and if you will continue. You can also use this site if you are writing your blog for personal use. You will be very limited in terms of design here, but you'll have basic functionality. I started my blog on wordpress.org and eventually paid to have it transferred to a self-hosted site for about six months. If you go this route, you can follow the step by step instructions on wordpress.com pretty easily.
WordPress.org
This is a "self-hosted" platform. You will use the WordPress program for your blog, but you will have to pay a hosting service to "host" the blog for you. I know this is confusing, but all you need to know is wordpress.org is the better option if you want control over the design of your blog. Also if you intend to generate a profit from your blog either through selling products, services, or ad revenue you will need to use wordpress.org and pay a hosting service. I will now explain how to set up your blog if you go this route.
Steps To Starting Your Food & Nutrition Blog (Or Any Blog)
1. Name Your Blog & Buy A Domain
My suggestion is to purchase your domain name (the www.mywesbsite.com part) through the host that you intend to use (see below), it's just easier that way. I originally purchased my domain through wordpress.com, and it's been a pain to renew every year of my existence.
TIP: DO NOT search for your domain name until you are ready to purchase. There are people out there who somehow track searched domain names, then buy them and hold them at ransom. I searched for hungryhobby.com a week or two before I decided to purchase and it was available. Some squatter acquired it and wanted me to pay thousands of dollars to release it. So I'm hungryhobby.net, it's not an issue since hungryhobby.com isn't a real functioning site, but it could be. There are a ton of .net blogs that are successful, but .com is more ideal.
2. Chose A Web Host (remember this is the "self-hosted" part)
A web host is a place where your website "lives" or is stored so it can be accessible to users. You have a TON of options here. Finding a web host that you are happy with is kind of like dating, you might go through a couple till you find one that meets your needs. I would marry my current host (WPopt) because they never price gouge me, the owner answers all my development questions, and they generally have the best customer service around. I currently host both my websites on Wpopt, but it's a bit pricier than other services.
The lowest price service is Bluehost, they charge $2.95 per month and up. I started my blog on Bluehost and was happy with them until my traffic started to pick up. When things start to go wrong, and they will, hosting is kind of a get what you pay for type deal. In my opinion, Bluehost's customer service is all but worthless. That being said if you are going the self-hosted route but aren't sure how much you want to put into your blog, then Bluehost is the best option.
3. Install WordPress
Many hosting sites will help you do this for free when you sign up with them, and it should be pretty easy.
4. Pick A Theme
I never had any first-hand experience with this. At the time I transferred my blog to wordpress.org from wordpress.com, I paid a web designer to set everything up for me. I then later had to pay another web designer to do an overhaul and update. If you chose to use a web designer the cost will start around $900 and go up from there. If you chose to do this yourself, think about the following:
- What do you want the site to look like?
- What kind of content do you want to provide?
- What kind of search functionality do you want?
For example, I needed a recipe index for my recipes. The recipe index categorizes my recipes and displays them in a user-friendly format. If I did an update to my theme, I would also want the capability for users to be able to search for a different recipe using filters for things like gluten free, dairy free, chicken, etc. You also want to make sure your theme provides built-in optimization for search engines. I use the Foodie Pro Theme which has a built-in recipe index.
5. Set Up A NEW Google Account and Tools
Don't make my mistake, don't set up your google tools with your current personal email address. Set up a NEW google account and then set up the following google analytics, google search console, and Feedburner. Don't skip any one of those three things, make sure you do ALL THREE. You will also need to install your tracking codes in your Yoast SEO plugin. The links provided give step by step tutorials on how to set those up.
6. Install WordPress Plugins
You need plugins to provide specific functionalities of your blog/website. Plugins can be a deep dark money hole so tread lightly and with caution. Some are worth their weight in gold and some are not. Worse still, the best ones are continually changing. I provide my current favorites below but know that two days after I publish this it might not be relevant anymore.
Best plugins for a food and nutrition blog:
- Comment Plugins
- Askiment filters out spam comments without logins or annoying captchas.
- Comment Reply Notification - emails you and the commenter when you reply to a comment. I didn't have this for years, so many of my commenters never saw my responses.
- Recipe Card Plugin
- My current favorite is WPRecipe Maker the paid version, but it took me a long time to shell out the money for it. Worth it once you're up and running though. There are a lot of great free options as well. Tasty recipe plugins have great reviews as well. It was developed by a food blogger for food bloggers.
- Co-Schedule - my favorite for content scheduling and social sharing
- Woo Commerce - if you want to sell goods and services (like nutrition services)
- Vaultpress - provides backups on your site
- Sharing Plugins
- I currently use social warfare which I'm still happy with but, many people use pin it, tasty, or Shareaholic. Try the free versions before buying anything!
- Yoast SEO
There will be others you will need, but those are a good start!
That's it! You are ready to publish your first post! What next? Check out my best blogging tools that will save you time and sanity!





Bionaze says
I just started out blogging and I'm going to use these tips as my guide. Thank you so much! You are the best!