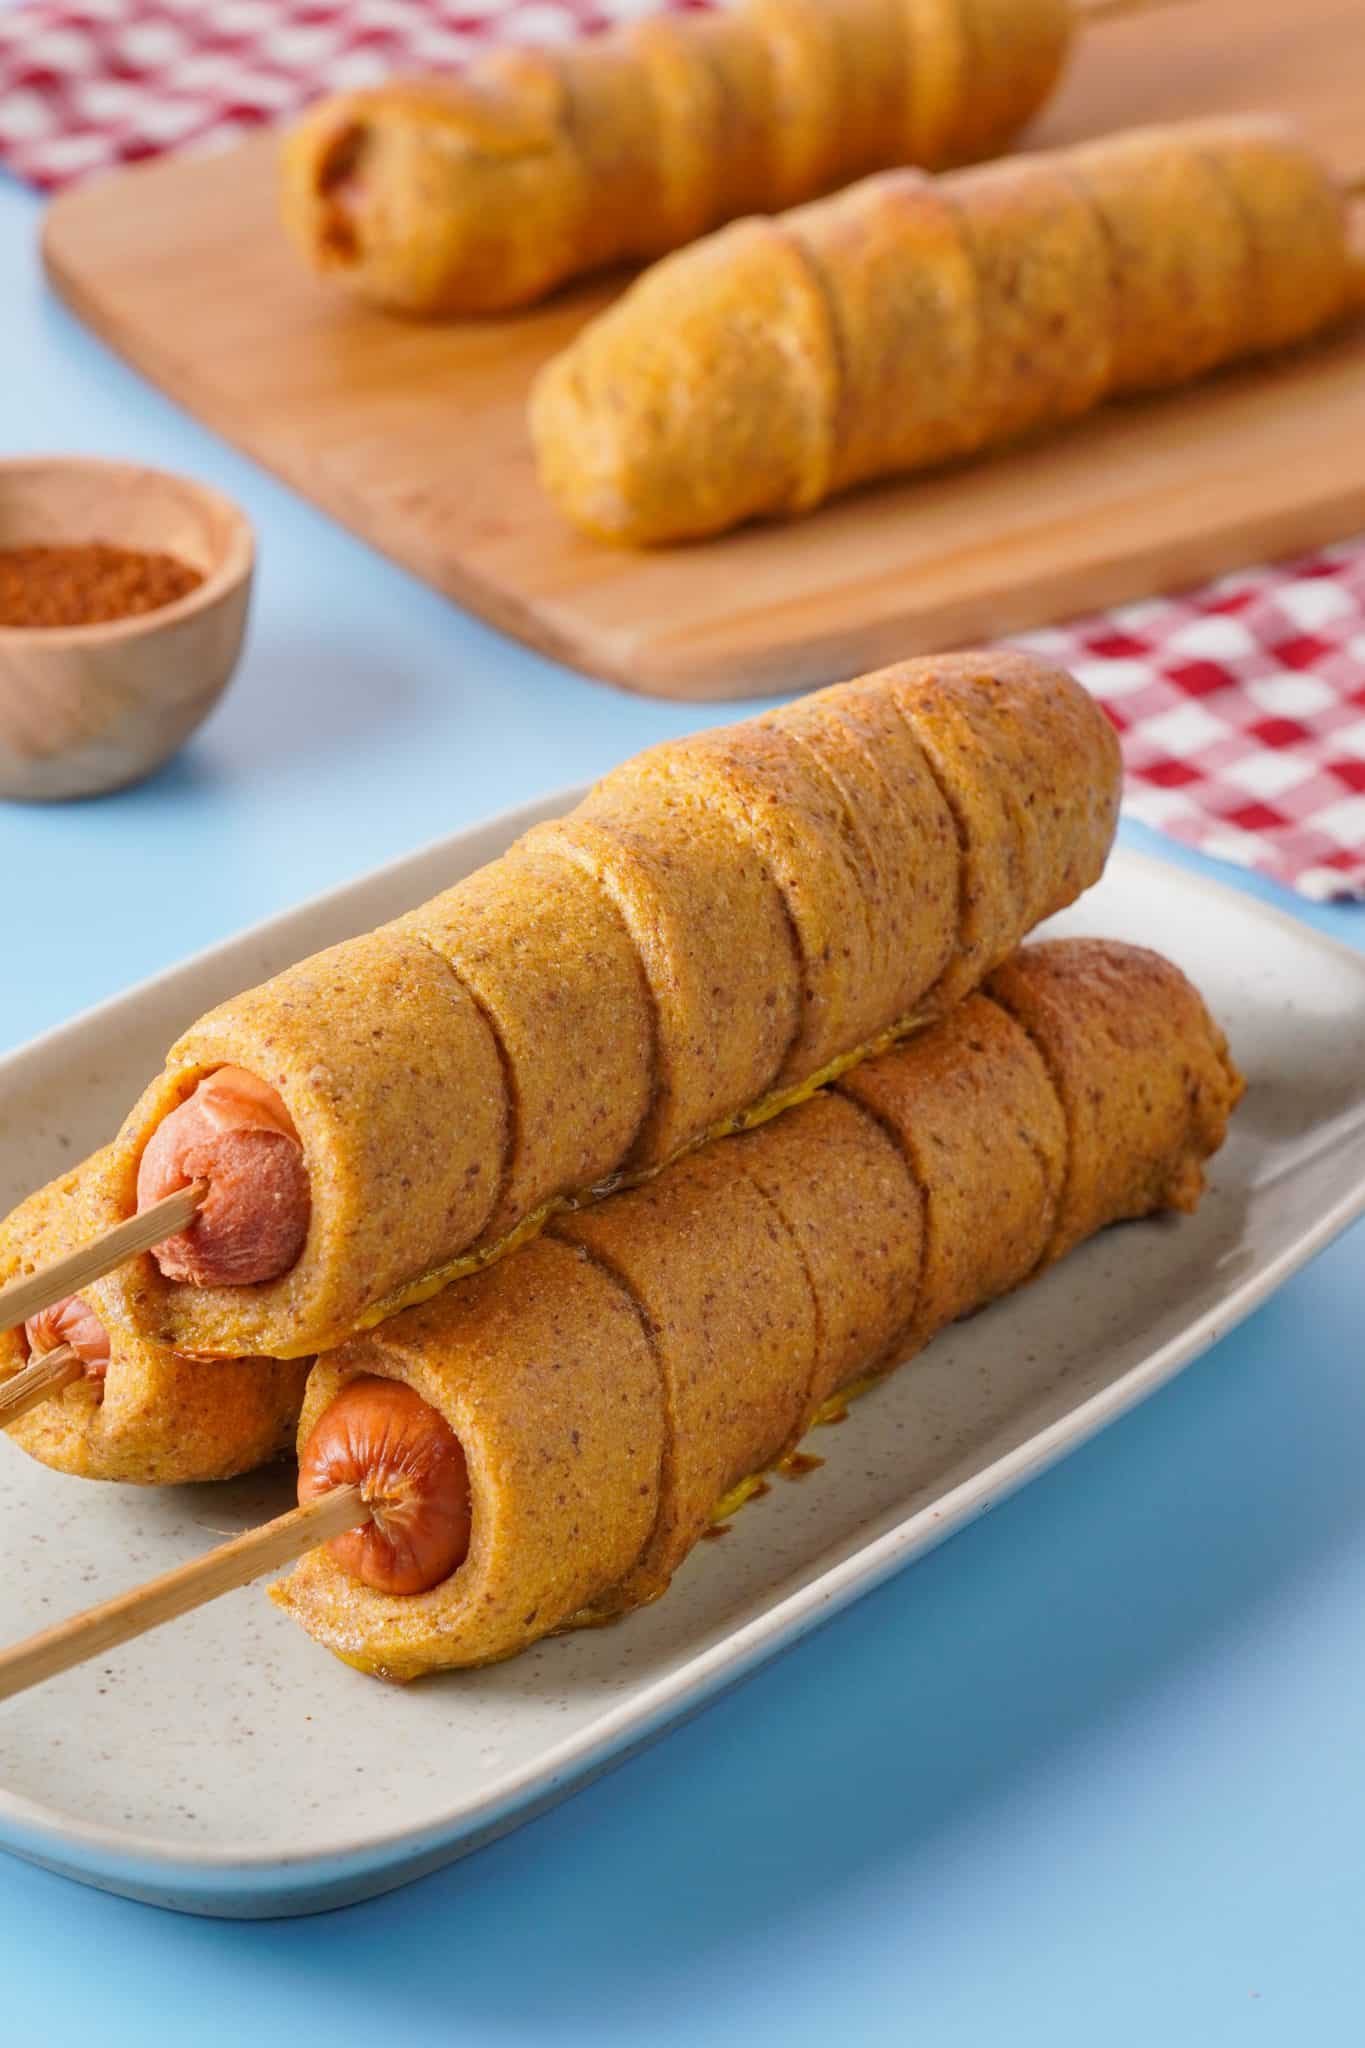
These homemade baked corndogs are healthy and delicious, plus a lot of fun to make! Wrap them individually and freeze them for later!

Today's recipe is near and dear to my heart. It was originally posted in January 2014, just a few months after I got married and within six months of starting the blog. Today I'm reposting it with updated photos so it can shine in all its delicious glory!

Let me just say my husband is OBSESSED with corn dogs, I’m pretty sure he could eat them every day of his life and be totally happy. The problem is the frozen ones are usually full of not-so-fun stuff like nitrates, partially hydrogenated oil, refined flour, and tons of preservatives.
The Trader Joe’s brand is pretty “clean, but it is $3.99 for a box of four, a dollar a dog is pretty expensive if you ask me. So after two months of Mr. Hungry asking for corn dogs, I knew it was time to make some healthy homemade ones!
The first time I attempted corn dogs at home was when I first started graduate school, and Mr. Hungry was with me in California. When he moved back to Phoenix for work, my roommate and I made them again, wrapped and froze them individually, and ate them for quick meals throughout the quarter.
I have to say every time I’ve made this recipe, I’ve tweaked it, so it got better and better. Now I'm finally to the point where I wouldn’t make any changes because everyone loves them.
This recipe isn’t deep fried, and it’s made using wholesome, nutritious ingredients, so it doesn’t taste “exactly” like a store-bought deep-fried corn dog. What are the ultimate taste tester hubby's thoughts? He loved it!
Specifically, his comments were: it’s crunchy, he can dip it in mustard/ketchup, it's filling, and he can feel good about eating it. Even though this recipe requires some time investment, it is great for getting your kids involved in cooking or spending some time with family.
I've had tons of fun making these for family occasions, games, and more. They always get RAVE reviews from everyone!
How to Make Healthy Homemade Corndogs
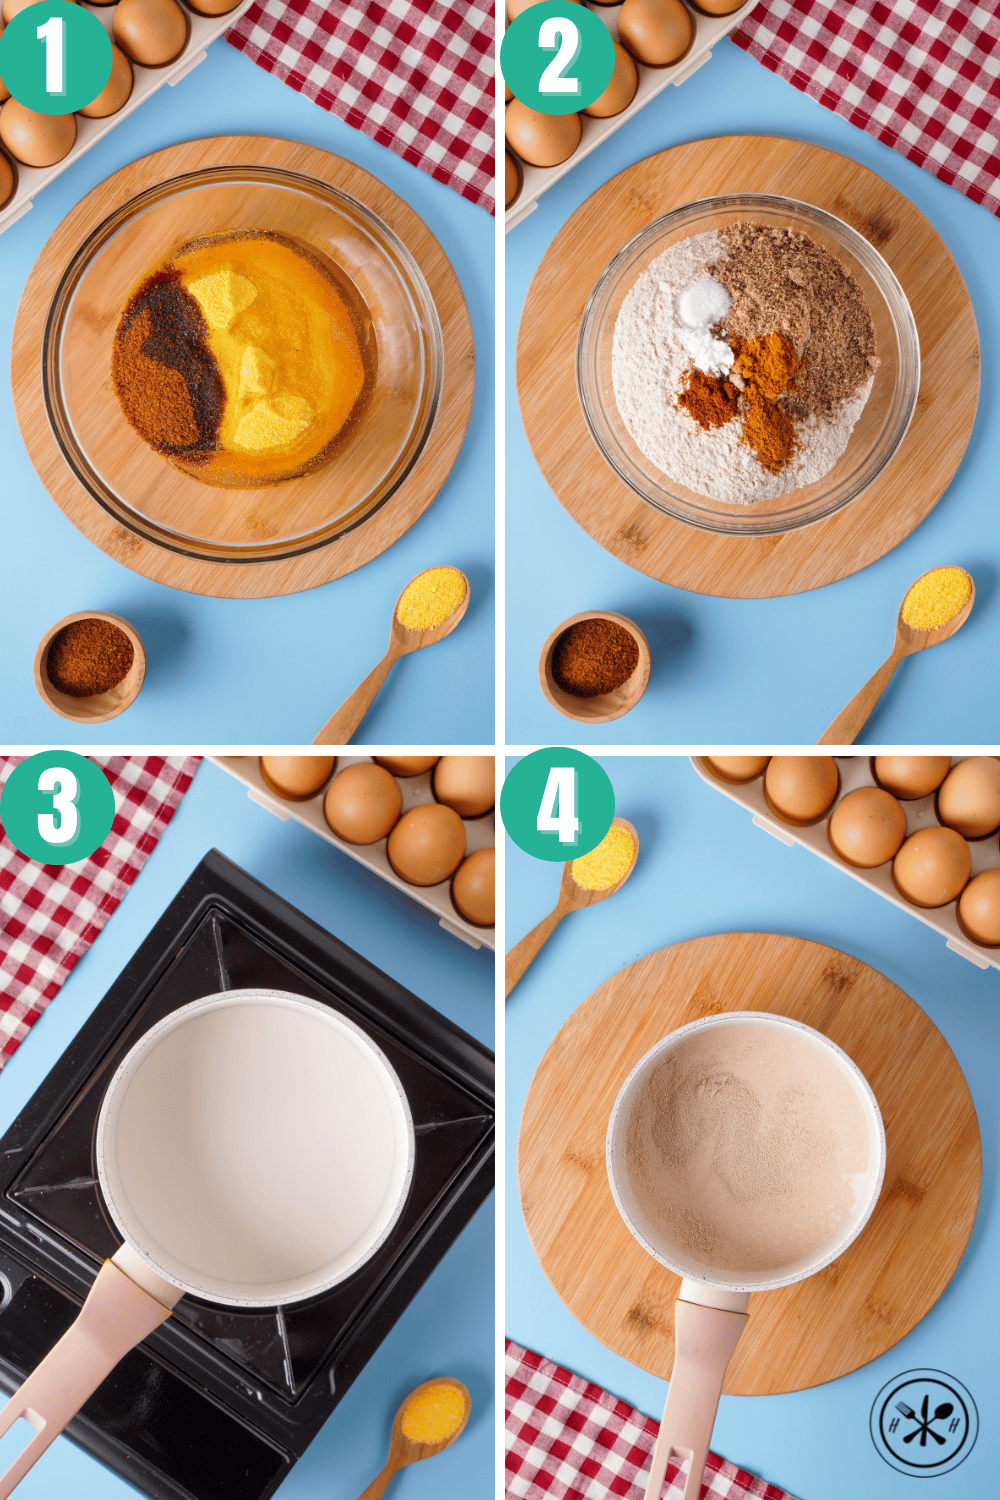
Alright, there are a lot of steps here. I promise it's worth it, but I've got a picture of every single step to help you along, plus the video! The first few steps involve mixing the dry ingredients and warming the milk.
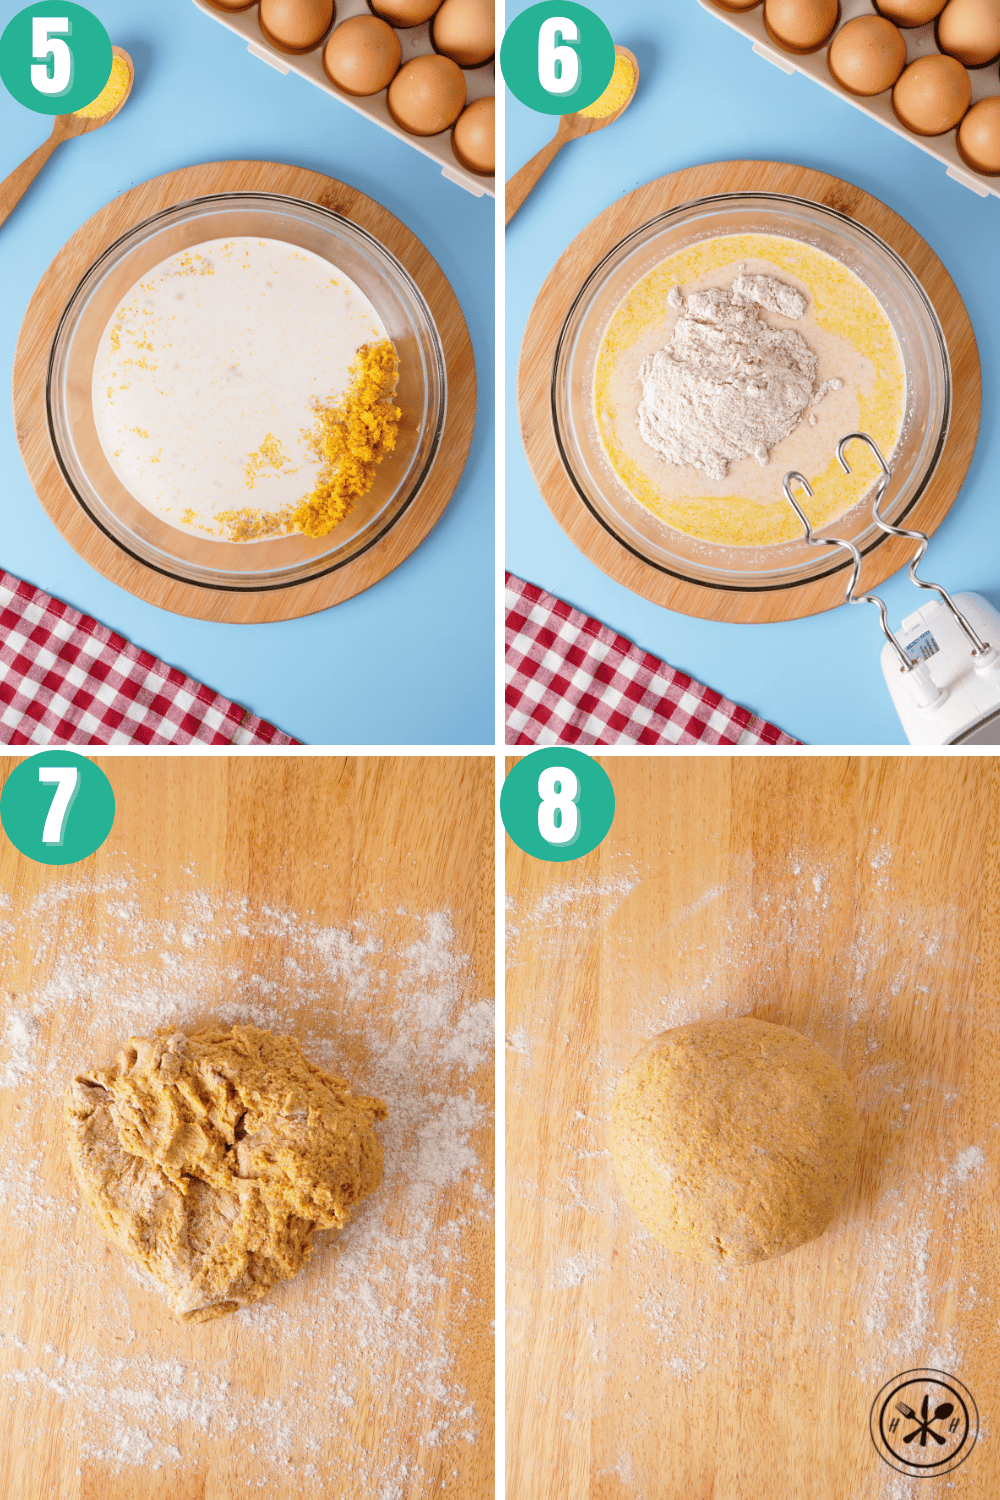
Next, you need to combine the dry ingredients with the warm milk to create a dough. You'll turn the dough out on a floured surface to get a smooth ball.
Then, the dough will need some time to rise in the warm oven. Meanwhile, you can prep your hot dogs by adding sticks to the hotdogs.
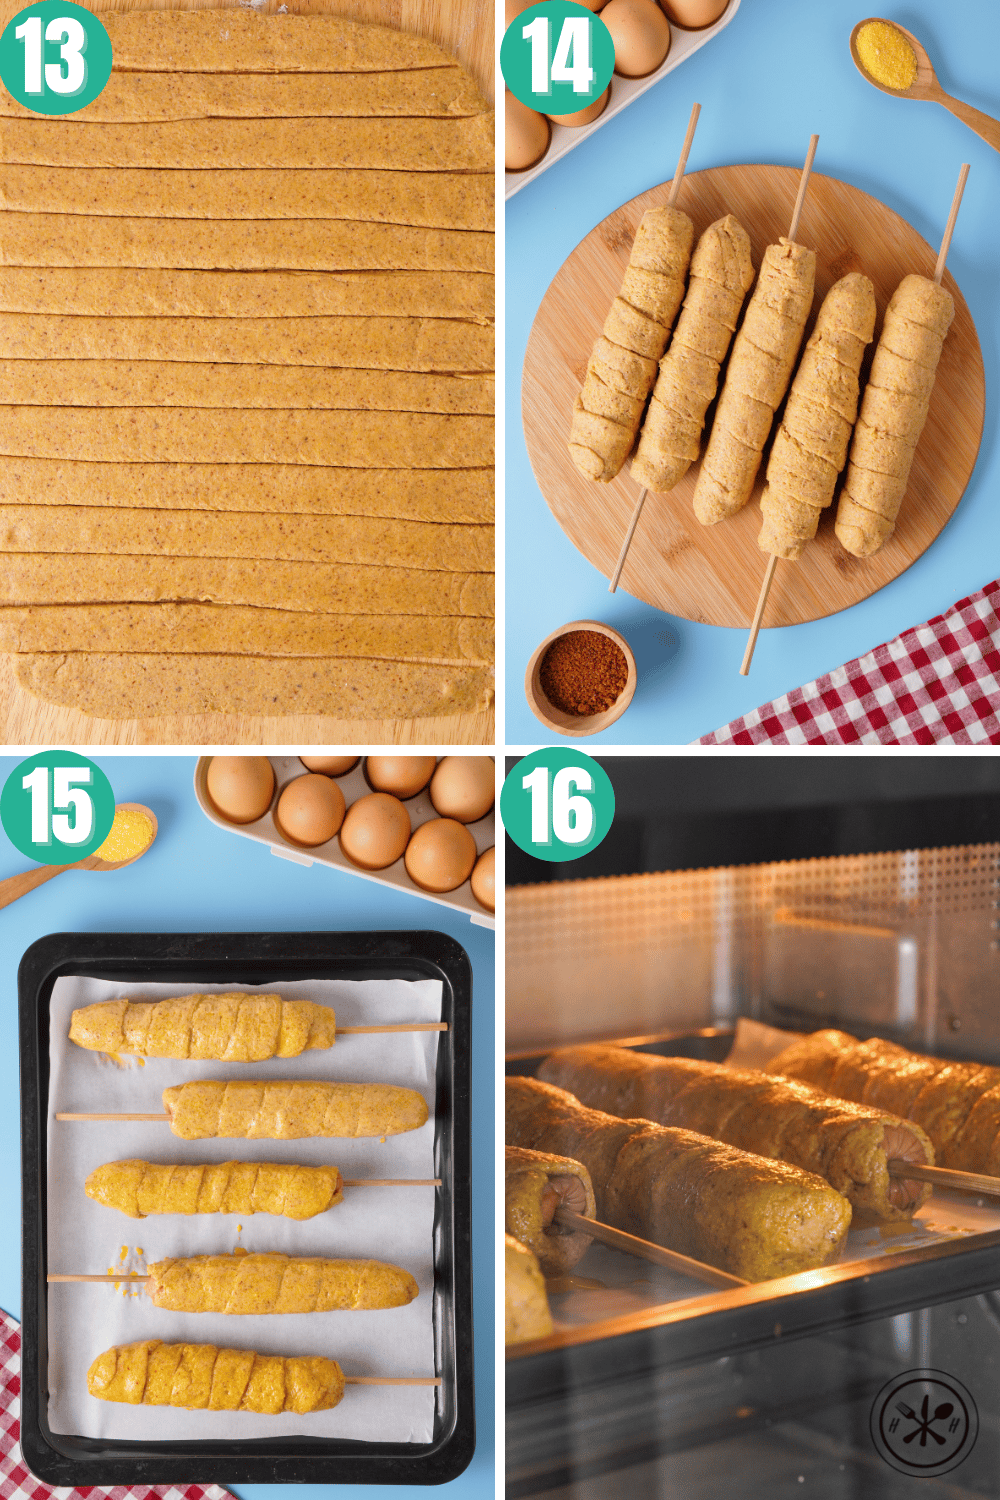
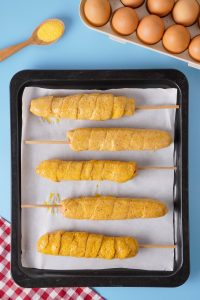
Finally, you'll roll your dough out and create long strips that you can then wrap around the hot dogs. Coat them with an egg wash, and then bake them!
Swaps and Substitutions
- Buttermilk - I have only tried this recipe with buttermilk. I suspect 2% milk or milk substitutes (I would stick with ripple or soymilk, not watery almond) will work mixed with lemon juice, but I have not tried it. You want the acid for flavor and baking purposes, so do not just sub with regular milk.
- Active Dry Yeast- Do not sub.
- Brown Sugar - Sub coconut sugar, do not omit. Necessary for flavor and rise.
- Olive Oil - Can use any neutral oil, such as avocado oil or canola oil.
- Cornmeal - Do not omit, or it will not taste like a corndog.
- Honey - Honey is essential to the flavor of corndogs, so I would not omit it. In a pinch, you can substitute brown rice syrup, but I'm not sure about maple syrup or other liquid sweeteners.
- White Whole Wheat Flour - You can substitute all-purpose flour or gluten-free 1:1 but it won't be whole grain if you make these substitutes!
- Flaxseed - Optional. Increases fiber and flavor!
- Salt - Do not omit.
- Baking Soda - Do not omit.
- Seasonings - Feel free to adjust.
- Hotdogs - Can use chicken, turkey, veggie, or beef hotdogs! Anything works!
- Eggs - Only for the egg wash to help create a crunchy crust. You can, in a pinch, use buttermilk as a wash. But eggs work better!

How to Store and Freeze Healthy Homemade Corndogs
To Store: Store in an airtight container in the refrigerator for up to a week. Reheat in the microwave or you could try the reheat function on your air fryer if you want them to be crispier.
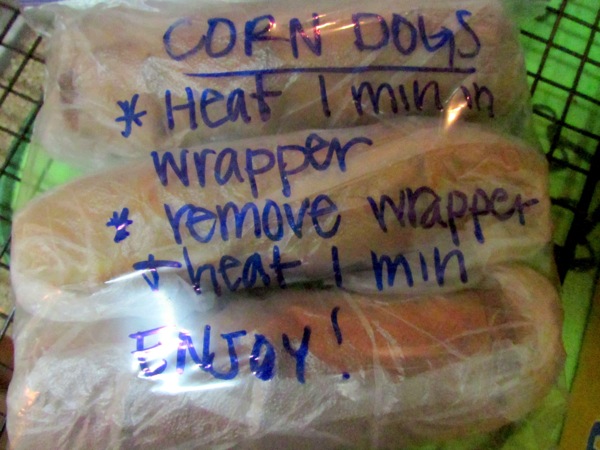
To Freeze: Let them cool completely, and then wrap corn dogs individually in saran wrap. Store in a large labeled freezer bag for up to three months. To reheat: in the microwave, defrost for 30 seconds – 1 minute in the wrapper, remove from wrapper, and microwave for 1-2 minutes.
Related Posts:
Tag me if you make these! I love to see what you guys make! You can tag me on Insta @hungryhobbyRD and Facebook @hungryhobby!
Healthy Homemade Baked Corn Dogs
Equipment
Ingredients
- 2 cups reduced fat buttermilk
- 2 packs active dry yeast
- ¼ cup brown sugar
- ¼ cup extra virgin olive oil or canola oil
- 2 cups fine yellow cornmeal
- ½ cup honey
- 2.5 cups 100% white whole wheat flour + more for dusting and kneading
- ½ cup ground flaxseed
- 1 teaspoon salt
- ½ teaspoon baking soda
- ½ teaspoon paprika
- ½ teaspoon cayenne
- ½ teaspoon chili powder
- 2-3 packs of nitrate free chicken turkey, or all beef hot dogs (or veggie/soy dogs)
- 2 large eggs beaten
Instructions
- Preheat oven to 100 degrees; once it is preheated, turn it off.
- To a bowl or mixer, add cornmeal, olive oil, brown sugar, and honey. Mix ingredients till just combined.¼ cup brown sugar, 2 cups fine yellow cornmeal, ½ cup honey, ¼ cup extra virgin olive oil or canola oil
- In another bowl, mix the rest of the dry ingredients (flour, flaxseed, salt, baking soda, paprika, cayenne, and chili powder.)2.5 cups 100% white whole wheat flour + more for dusting and kneading, ½ cup ground flaxseed, 1 teaspoon salt, ½ teaspoon baking soda, ½ teaspoon paprika, ½ teaspoon cayenne, ½ teaspoon chili powder
- Warm milk to 110 degrees in a small saucepan (I just used a meat thermometer), add yeast, and stir gently. Allow it to sit for two minutes to soften.2 cups reduced fat buttermilk, 2 packs active dry yeast
- Add milk/yeast to the mixing bowl with cornmeal and mix until just combined.
- With the mixer on, slowly add the dry ingredient flour mix to the cornmeal mixture. The dough should be sticky but firm. You should be able to easily scrap it from the sides of the mixing bowl. If the dough is too sticky (if you won’t be able to knead it), then add 1 tablespoon of whole wheat flour at a time until the dough reaches sticky firm consistency of up to 6 Tablespoons.
- Turn out the dough onto a floured surface and knead it for a couple of minutes. Shape it into a ball and place it in a metal or glass bowl that has been sprayed with cooking spray or lightly oiled. Cover with a towel and place in the oven, and let the dough sit for one hour. (Note the bread will not really rise like some yeast dough, that’s okay.)
- Meanwhile, prep hot dogs by sticking them with skewers/sticks 1-2 inches deep. (Skip this step if you are planning to freeze them.)2-3 packs of nitrate free chicken
- Remove dough from oven and preheat oven to 450 degrees.
- Turn out ½ the dough onto a lightly floured surface and roll it out very thin. I try and aim for the ¼ inch thick or less, but the thicker the dough is, the more there will be surrounding the hot dog. The thinner your roll the dough, the more hot dogs you will be able to make. I’m usually able to get almost three packs out of the dough.
- Cut dough into ½ inch to 1-inch strips that are 10-12 inches long (depending on your hot dogs.)Roll the strips around the dogs, overlapping the dough no more than ¼ inch. Pinch together the ends at the top, leaving the bottom open for expansion. Repeat with the second half of the dough.
- Place on a greased/sprayed baking sheet (or covered with parchment paper for easier cleaning) and brush with beaten egg. (If you don’t have a brush just wing it with a fork, it will be a little messier but the result will still be good.)2 large eggs
- Bake in the oven for 20-25 minutes until golden brown and desired crispiness is achieved. Serve immediately, and store leftovers in the fridge for up to 7 days.
Video
Nutrition
*(Almost half the fat and sodium, plus twice the fiber and protein of a traditional frozen corn dog!)








Marianne says
We had a great time making the corn dogs with you Kelli! Ours are gone already, must make more! Super Bowl??
hungryhobby says
Yes! Along with an unsafe amount of franks red hot sauce!!!!!!!
Cynthia says
Hi. I know this is going to sound strange but i accidentally made a double batch of the dough. I dont want to use it up today so how can i freeze just the dough to use for next time without ruining it?
Kelli Shallal MPH RD says
So, admittedly I'm not the worlds most knowledgeable baker. But, I feel like it would work. I do think there might be a process you would have to go through to reactivate the yeast after freezing? I think I would try letting it thaw overnight and then letting it come to room temp on the counter for about an hour before working with it.
Youtube.Com says
I like the helpful information you provide in your articles.
I'll bookmark your blog and test once more here frequently.
I'm slightly certain I'll learn many new stuff right right here!
Good luck for the next!
Kaylin @ Enticing Healthy Eating says
This is so cool that you were able to bake the corndogs! I'm such a sucker for corn dogs...one of my guilty pleasures. Especially Sonic corndogs. Thanks for sharing!
Kelli Shallal MPH RD says
They are delish!
Erin P says
I stumbled upon your blog and this recipe after my son requested corn dogs for supper today. I subbed a gluten-free flour blend and added psyllium husk (as a binder to make up for no gluten). The results were great! One of the best gluten-free bread products I've had! I'll be trying the breading recipe as biscuits or buns next.
Also, a tip for anyone else making these gluten-free... the dough will not come together as firmly as regular wheat dough. Rather than get frustrated with dough sticking to everything by trying to roll it out, I used my tortilla press, lining it with a freezer bag that I slit down the sides and kept well-oiled. Worked like a charm!
Kelli Shallal MPH RD says
So glad you liked them. We've been doing more gluten free in our house too so I might give try some of your modifications and wonderful tip about the tortilla press! Sorry for the late reply, but I'm so happy you enjoyed them!
Lora says
These were very time consuming and I'm sad to report did not turn out well for me. The corn dog "shell" dried and cracked in the oven thus causing the dog to almost fall out. Your recipe needs more editing as it says "add 1T at a time if dough is too sticky" 1 tbs of what? I assumed flour, but I may have added too much. Husband also wasn't too fond of them. Not sure if the time commitment is worth another try.
Kelli Shallal MPH RD says
Thanks for your feedback Lora, I'm sorry they didn't turn out well for you. Sometimes getting the dough to the right consistency is tricky. Since most people don't have food scales I go by cups and tablespoons but that means you'll get an inconsistent dough consistency. If the shells cracked in the oven it does sound like they might not have been quite moist enough. I do appreciate your feedback though and will keep in mind to be more specific in the future 🙂
sylvia says
hi I was wondering if you could substitute regular milk for buttermilk?
Kelli Shallal MPH RD says
Yes you probably could but you would likely need to add something to mimic the acid though I found this post that might help http://joythebaker.com/2013/11/baking-101-the-best-buttermilk-substitutes/
Thanks!
edwin says
the first step is to warm up the oven. For what? Is that 100F or 100C?
I have also tried fo find out the oven temperature but can't find it. It just says bake for 20-25min. Could somebody pinpoint the oven temperature or tell me what you used?
Kelli Shallal MPH RD says
Hi Edwin, all temperatures are in F. I know this one is confusing but you need to read every step of the directions very carefully. Step 9 says to preheat the oven to 450F, that's when you will bake for 20-25 minutes. This one is a long one and it's super involved, even for me as a food blogger but it's so worth it!